


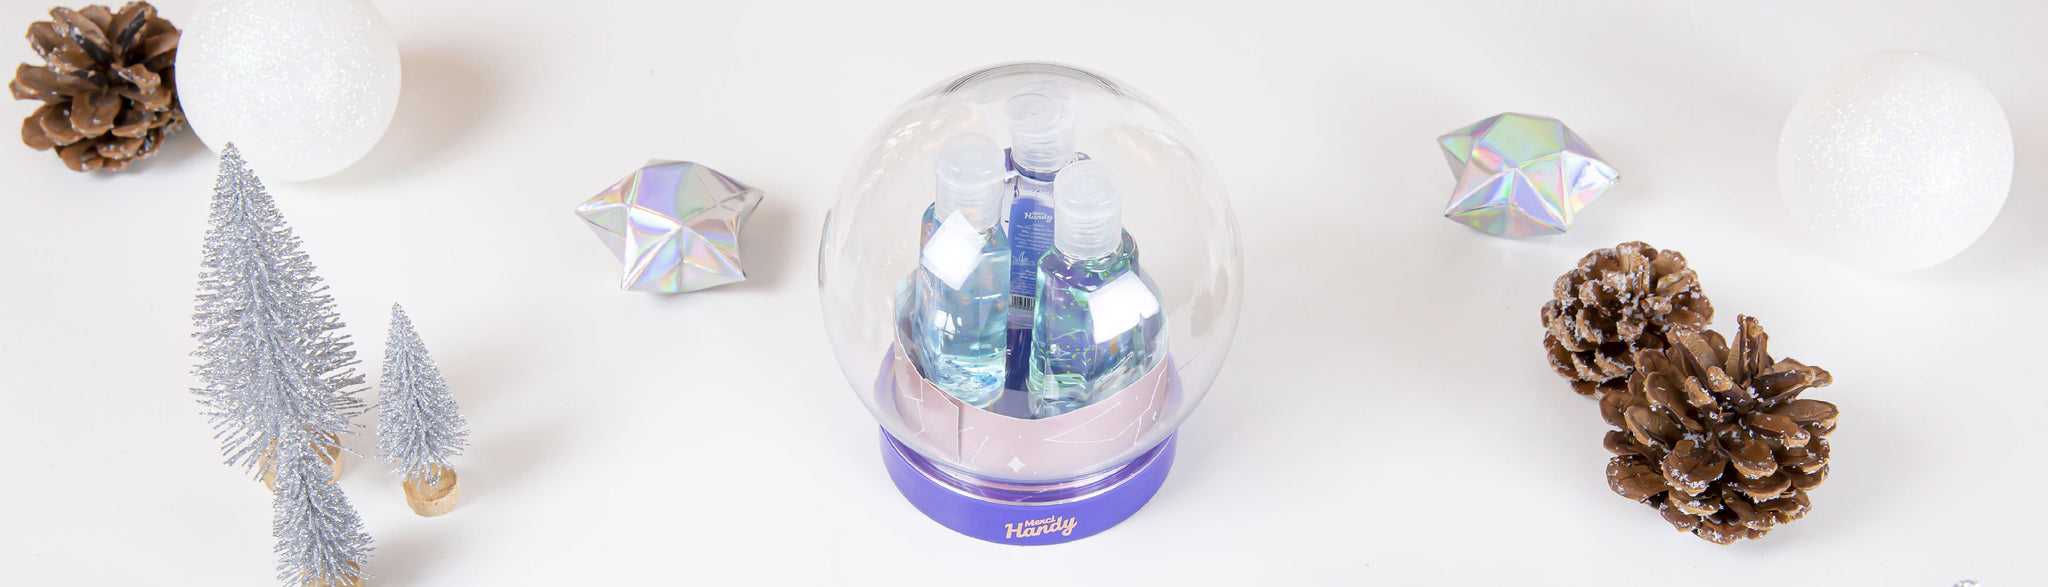
Christmas, its magic, its trees, its decorations and its snow globes. At Merci Handy, we focus on reusable, greener and more festive packaging! In this tutorial, we will show you how to make your Crystal Ball a personalized snow globe, in the snap of a finger!
1. The material:
To make this tutorial, you will need:
-
spray paint (optional)
-
vegetable glycerin (optional)
-
a bottle cap, such as orange juice (optional)
-
Glitter
-
water resistant glue
-
the figure of your choice
2. Painting:

This step is optional, but if purple isn't your color, you can always paint the base of your Crystal Ball. In this tutorial, we decided to paint it gold with a spray paint. It's faster and less messy.
After painting the base, do the same for the juice bottle cap. This cap will serve as a pedestal for the figurine.
2. Gluing the elements:
Take a water-resistant glue and stick the cap on the base of the Crystal Ball, be careful to center the cap according to your figurine. Leave to dry for a few minutes then glue your figurine on the cork.
3. Filling:

It's almost over! Fill the ball with water, preferably demineralized to prevent it from clouding over time. Once filled, pour a tablespoon of vegetable glycerin. This step will allow the sequins to fall less quickly when you shake your ball.
4. Final steps:

For this last step, all you have to do is sprinkle some glitter and screw the base back on. Be careful to check if the glue has hardened properly.
If you want to prevent a few small droplets from escaping from your snow globe, you can put a strip of transparent or colored waterproof adhesive tape all around the base.
All you have to do is shake your snow globe and admire the show!
And if you want to follow the steps step by step, here is the video:


